In my last Blog post, "Suggestions?" I'd asked for suggestions on what to paint, as long as it was abstract, trippy, and relatively simple while including a picture example of the kind of thing I was talking about at the end of the blog.
Since I didn't get any real suggestions, only comments on the picture that I'd posted, I decided to paint that very picture in acrylic paint!
This is a beautifully colorful abstract piece of art, and very simple as it can be broken down into layers, each layer being a coat of paint and step in the process; this is how I will be painting this picture, and writing this blog!
Step One:
~Background Layer
This layer is so simple, tons of black paint mixed with water and brown paint to soften it as in the model picture. Not really much to describe here; not much technique.
I started by squirting black paint all over the cardboard canvas, trying to reach each corner, then took my second largest brush (second only to the spongebrush) and scribbled and spread the black to an even consistent coat.
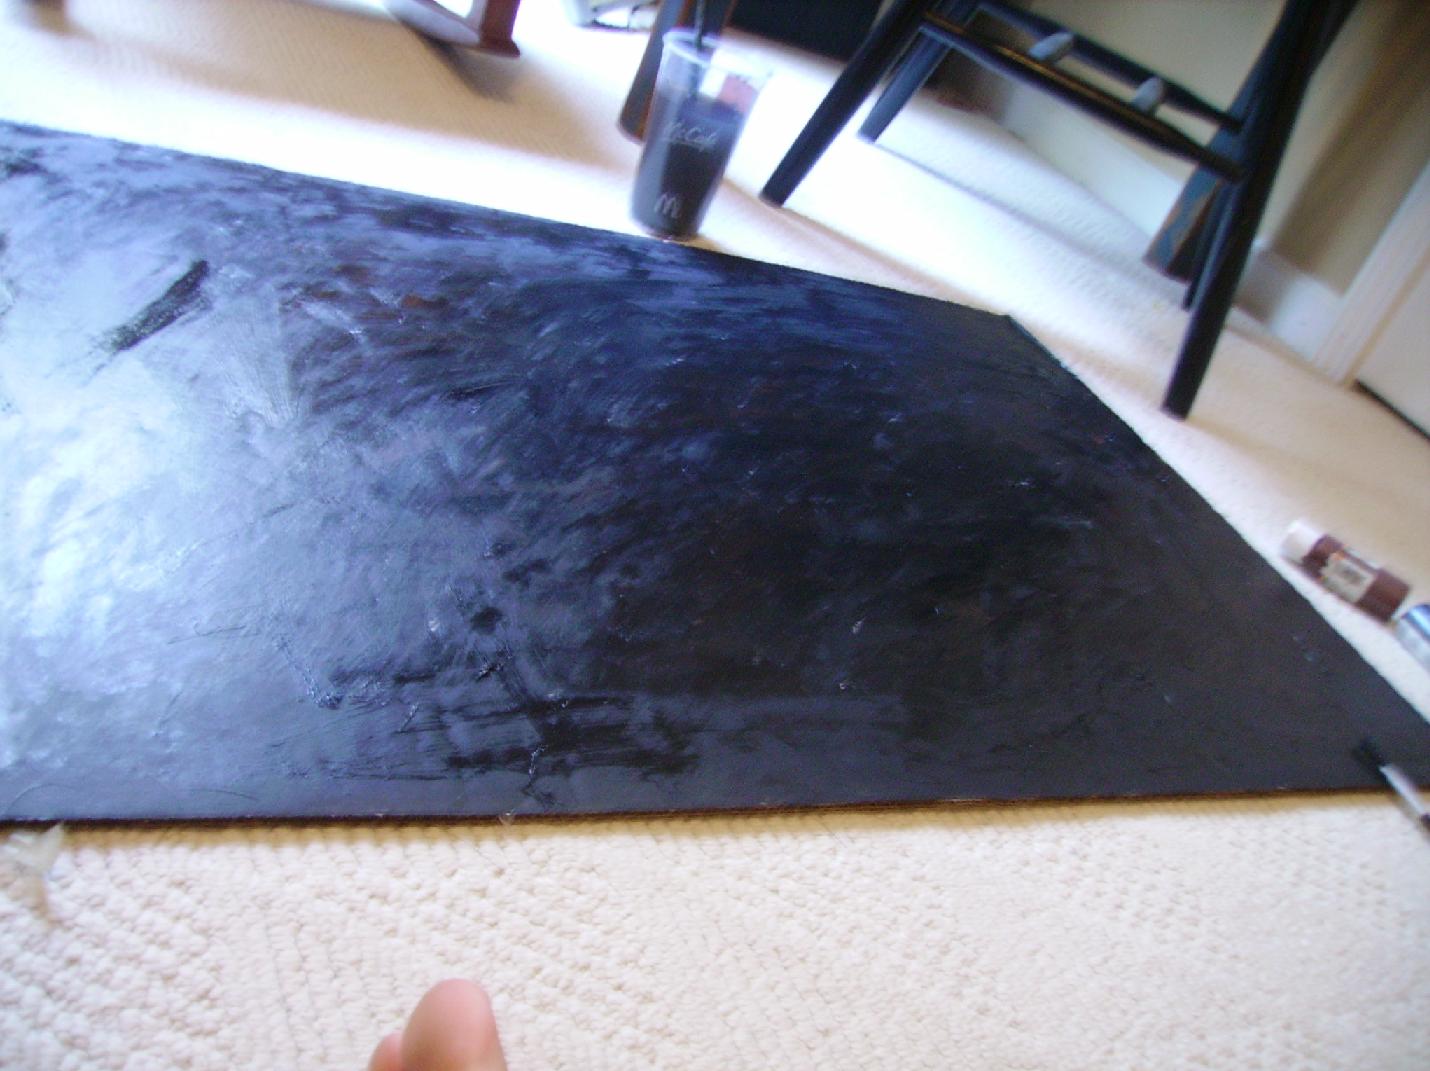
I squirted in some splashes of brown and spread it around to soften up the black, the way the background in my model is softened.
Here we see the evenly coated, black backing, but it isn't soft enough.
So now we dip our spongebrush in the water, squirt on some more brown, and brush over the whole thing a little more.
Almost theeeeeeeere......just spread that brown; make it look even.
Done!
The background layer is done!
Not hard, right? Well here comes the fun.
Step Two:
~Basic Shapes/Frames
For this step, we'll be having a little more fun and getting some more colors in.
The first colors we'll be using are white, orange, and yellow.
Start making the outline of the painting, the petals of the flower, if you will.
In the model picture, we have a lot of action, a lot of sporadic paint dots and it looks like a mess.
If we take all of that out, we just have the petals with their white frames, and the gradient transition of colors on the inside, that will be our next step after the framework is laid.
Now, I will be working more on this framework, because it's not done at all, and by extension, neither is step 2 of the painting process.
I HIGHLY recommend not adding any orange or yellow yet, that was almost a mistake of mine :/
You see in the pictures above and below that I've already started adding yellow and orange swirls up and around the white frame, before I've even started the gradients inside their frames!
I also need to make a lot more petals.
This was a mistake of mine, don't do it...YET!
Now, gonna stop painting for a while and give the painting a drying break!
~The REST of Part Two Coming Soon!~